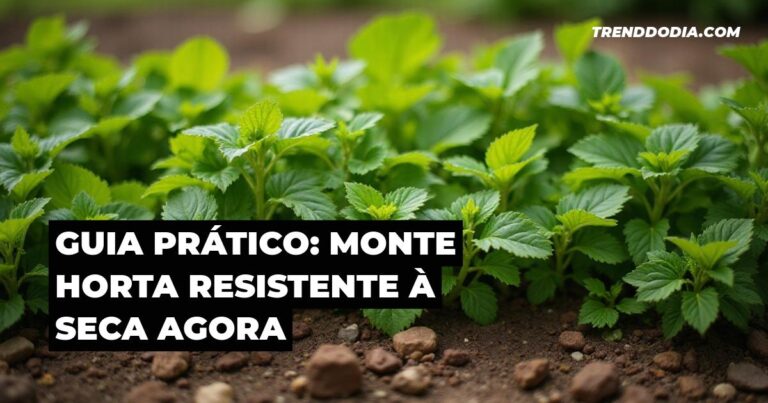
To prepare a garden bed, you need to choose a sunny spot, clear the land, determine the correct dimensions, dig and loosen the soil, ensure good drainage, mix in compost, level everything, water lightly, and only then plant the seedlings or seeds.
If you've ever tried to start a vegetable garden and the plants didn't take root, the problem is usually not the seed itself, but the garden bed. Let's look step by step at what makes all the difference between a weak garden and a well-prepared bed that produces year-round.
How to choose the best location for your garden bed.
Choosing the ideal location is key to a successful home garden. Look for a spot that gets at least six hours of direct sunlight per day, avoiding areas near large trees or tall buildings that cast too much shade.
In addition to avoiding shady areas, consider strong winds, which can damage young plants, and choose areas with good drainage to prevent stagnant water. This will help your vegetables grow without problems from root rot.
According to IBGE (2022), home gardening is a common practice in houses with backyards in Brazil. For example, a resident of an urban neighborhood in Belo Horizonte chooses a corner of the backyard that receives direct sunlight from 8 am to 2 pm, away from puddles and the wall that creates too much shade. In these cases, success comes from observing the land for a few days.
Sun, wind and water: what to consider before you begin.
The sun provides energy for plants, especially vegetables that need it to produce leaves or fruit. While winds help with pollination, excessive winds can draw heat from the soil and damage delicate roots.
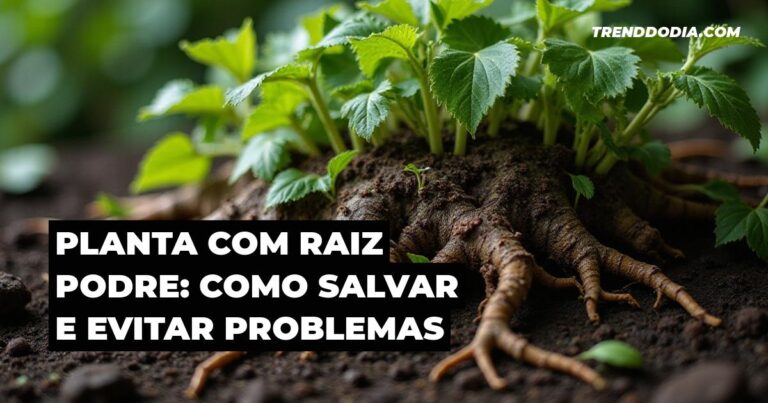
For this reason, keep in mind that locations near puddles or with poor drainage promote diseases, such as root fungi. This will help you avoid surprises that could hinder the initial planting.
Quick adaptations for backyard, balcony or rooftop
If you live in an apartment, balconies under 2 square meters work well. Use buckets or small boxes there and adapt them for partial shade if the space gets too hot in the afternoon.
However, for those who only have concrete floors or limited space, raised beds are perfect, as they allow for complete control of the soil and water. This way, residents of rooftops can create a productive garden without breaking the concrete.
In these cases, raised beds in wooden boxes keep the roots fresh and away from contaminated soil. This simplifies preparation, focusing on filling them with nutrient-rich soil.
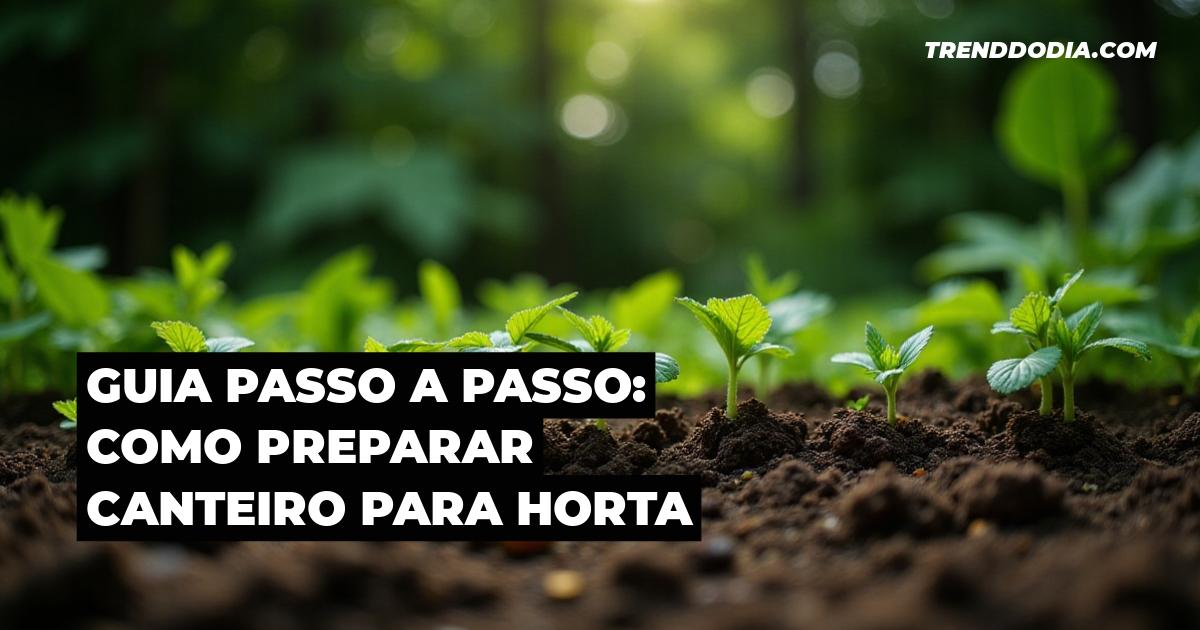
Step 1: Clearing the land and marking out the garden bed.
Clearing the ground is the first step in preparing any garden bed. Remove debris, stones, and roots from the topsoil to create space and prevent compaction that suffocates the roots.
After removing the bulk of the debris, use basic tools like a hoe to smooth the ground and mark the boundaries. This step prepares the soil to receive better water and air, helping the vegetables grow.
One example is someone who inherited a backyard full of debris, weeds, and small stones, using a hoe and mattock to remove construction waste, thick roots, and level the space for a 1m x 4m garden bed. This way, the land is cleared without expending too much effort at the beginning.
Removal of debris, weeds, and stubborn roots.
Beware of deep-growing weeds, as they compete for water and nutrients. Remove them whole, including the roots, to prevent them from quickly returning, which hinders the planting of small seeds like lettuce or carrots.
If you find trash or broken bricks, use gloves and a shovel to pick them up. This way, you leave the area clean and safe, preventing accidents with cleaning tools.
Ideal measurements and how to mark the design on the floor.
First, determine the width of the garden bed to be between 1 and 1.5 meters so you can reach the center without stepping on the new soil. Mark the area with string or sticks, drawing straight rectangles that fit within your space.
To create a garden bed in your backyard, avoid curved shapes at first, as they waste soil. But if the terrain is uneven, adjust it to the existing shape, saving time and materials.
How to prepare the soil in your garden bed for a successful vegetable garden.
Preparing the soil for the vegetable garden begins by digging about 30 centimeters deep to mix the original soil with organic matter. This loosens the structure, allowing roots to penetrate better and absorb water and nutrients.
Next, correct extreme textures: if it's too hard, add sand; if it's too loose, mix in natural clay. This will balance the soil, reducing the risk of erosion or rapid compaction.
Include a layer of coarse sand at the bottom to drain excess water, especially in rainy regions. This simple trick prevents root rot, ensuring stronger vegetables against heavy rains.
Brazilian agronomic research shows that well-structured soils with good organic matter increase vegetable productivity by up to 30% (Embrapa, 2021). For those who want to avoid excessive digging or have very compacted soil, techniques such as layered gardening save effort. It is worth learning about these techniques. soil preparation for alternative flowerbeds.
| Soil Type | Common Regions in Brazil | Adjustments in Preparation |
|---|---|---|
| Clayey | Interior of São Paulo | Incorporate sand to fill the space between particles. |
| Sandy | Fortaleza Coast | Mixing organic matter to retain water |
Pit depth, simple drainage, and basic correction.
Dig at least 20 centimeters deep if the soil is light; then go up to 40 cm in clay soils to allow for deep roots. For drainage, place concave stones at the bottom, covering them with layers of fine sand.
This simple system prevents standing water, thus preventing fungi that harm young shoots. Therefore, test it by pouring water over the plant to see if it drains easily.
Clay soil vs. sandy soil: what changes in preparation?
In clay soils, which easily become waterlogged after rain, incorporate more sand to space out the particles and improve air circulation between them. Sandy soils, which dry out quickly, require extra composting to retain moisture.
One example compares very clayey soil from a site in the interior of São Paulo, adjusting the depth of the planting hole with organic matter, versus sandy soil in Fortaleza, where the focus is on retaining water without over-digging.
What is the best way to fertilize a garden bed?
Proper fertilization is essential for a productive garden, balancing elements such as nitrogen, phosphorus, and potassium in the soil. Use rich organic matter, ensuring healthy growth without overloading plants at the beginning.
Where to get it from? Kitchen scraps or simple purchases like composting. Check out the guide. home composting To transform waste into easy-to-use compost.
Studies show that vegetable gardens with regular organic fertilization gradually improve soil structure over 2 or 3 years (Embrapa, 2020). For example, a resident in Recife mixes well-rotted cattle manure with wood stove ashes for a 2 m² garden bed, while another in São Paulo uses compost made from kitchen scraps with NPK fertilizer to balance the soil.
| Type of Fertilizer | Advantages | When to Use |
|---|---|---|
| Organic | Improves long-term structure. | Initial and topdressing fertilization |
| NPK chemical | Quick fix on the spot | Supplement if organic matter is lacking. |
Organic fertilizer: manure, compost, and materials from your home.
Well-rotted manure from animals like cattle provides natural nitrogen, ideal for leafy greens. Mix 5 liters per square meter when digging, covering roots directly.
For home composting, use fruit and vegetable peels, turning the pile every week. In the meantime, avoid fresh compost to prevent burning young plants.
Proper use of NPK chemical fertilizer in the vegetable garden.
Chemical NPK fertilizer comes in small bags, providing phosphorus for strong roots. Apply a small amount the first time, diluting it in water to avoid over-concentrating it in the soil.
But avoid excessive chemicals, as they accelerate growth but can acidify the soil. Combine them with organic matter for overall balance.
Step 4: Leveling, initial watering, and covering of the garden bed.
After fertilizing, level the soil by removing depressions that form puddles, using a rake to smooth it out. Water moderately immediately afterwards to integrate nutrients, moistening up to 10 centimeters without soaking.
So, apply mulch to retain moisture and keep weeds out. Among the types, rice straw protects roots against intense summer heat.
How to get the water level right and avoid puddles.
Use a flat board to check if it is smooth, adjusting the heights and depths. In rainy weather, slope the raised bed slightly so that water runs off the lower side.
This trick prevents waterlogging, which is very likely to cause rot in seeds planted too early.
Types of dry cover crops that work well in Brazil
Rice straw, abundant in southern regions, retains water in sandy soils. Meanwhile, chopped grass, dried in the sun, blocks weeds without rotting quickly in the tropical climate.
One example is a flowerbed in Porto Alegre with straw to protect against summer moisture, compared to Goiânia which uses grass as a cover after fertilizing, keeping the soil cool all day.
How to plant and space vegetables in a garden bed.
Proper planting involves adequate spacing to avoid competition. For example, leave 20-30 cm between rows of lettuce so they can grow without becoming tangled.
Make shallow furrows with a stick, sowing evenly. Cover with fine soil and press lightly, then water to encourage quick germination.
To maintain productivity, consider monthly topdressing. See also How to Fertilize a Home Vegetable Garden for Increased Production For specific fertilizer tips after planting.
Planting in furrows and holes without error.
For small vegetables, make 1 cm deep furrows with a small shovel. Scatter fine seeds, like carrot seeds, every 2 cm so you don't have to transplant them later.
Deep holes are suitable for tomatoes, which need deep roots. Dig holes 15 cm deep and plant seedlings with soil around them for initial support.
Simple examples of crop combinations
In a 1m x 5m area, mix rows of lettuce with carrots to protect each other from insects. A spacing of 25cm allows for staggered harvesting.
In Curitiba, for example, they plant two rows of curly lettuce with carrots in 1 cm furrows, harvesting the leaves while the roots mature without friction between plants.
What precautions should be taken after preparing the garden bed?
After planting, visit the garden every week to remove young weeds and check for pests. Maintaining complete mulch cover prevents weeds from taking over.
Watch for signs of yellowing in the leaves, adjusting watering accordingly. This way, you ensure continuous production without extra effort.
Simple control of weeds, pests, and replacement of mulch.
Pull out small weeds manually, without tools, to avoid damaging the roots. For pests like ants, use neutral soap diluted in water.
Replace the mulch whenever it becomes thin, keeping the soil protected from excessive direct sunlight.
When to renovate or expand the flower bed
After one year, test the soil to see if it needs more organic matter. Expand it with extra sections attached, following the original measurements for continuity.
In cold cities like Porto Alegre, replacing your car in winter prevents wear and tear during the humid Brazilian summer.
Frequently asked questions about how to prepare a garden bed for a vegetable garden.
Many questions revolve around height: flowerbeds in rainy cities need a minimum of 15 cm to allow roots to rise above floodwaters. Width should not exceed 1.2 m to facilitate access.
Materials like pallets work well in apartments, but wooden crates provide better insulation against urban pests.
The practical difference between a raised floor and a raised box is in the control: the raised floor facilitates drainage without depending on natural soil.
Height, width, and materials: what's most important?
The height starts at 10 cm for well-drained soils, increasing in humid regions. The width is around 80 cm so that hands can reach it without jumping.
Durable materials like plywood save money, but avoid plastic if you want something reusable and organic.
Most common mistake made by those setting up their first garden bed.
The main mistake is planting too densely, suffocating the plants. Others forget to test the soil pH, which affects nutrient absorption.
In São Paulo apartments, using pallets without impregnation leads to rapid decomposition due to humidity.
In summary, to prepare a garden bed, start by choosing a sunny location, clean and mark the area, dig and loosen the soil, ensure good drainage, fertilize properly, level the area with initial watering, cover it dry, and plant with the correct spacing, maintaining simple care such as weekly weeding.
So, start with a small garden bed this week, tell us in the comments which vegetables you'll plant first, and share the article with friends who also want to start a home garden to inspire more people.